In a world where digital content reigns supreme, lip sync videos have become a massive trend. From TikTok dances to Instagram Reels and YouTube Shorts, these fun and expressive videos let creators channel their inner performers, without needing to sing a single note. And the best part? You no longer need a fancy studio, green screen, or high-end camera to create jaw-dropping content.
Thanks to evolving technology and AI-powered tools, it’s now entirely possible to create professional-quality lip sync videos right from your home. Whether you’re an aspiring influencer, brand marketer, or just someone looking to make fun content, this guide will walk you through the essentials of producing stunning lip sync videos without a studio.
Why Lip Sync Videos Are So Popular
Before we jump into the “how,” let’s talk about the “why.” Lip sync content is thriving because it’s:
- Entertaining: It blends humor, creativity, and personality.
- Relatable: Users love mimicking famous dialogues, songs, or trending sounds.
- Shareable: These videos tend to go viral quickly, especially on platforms like TikTok.
- Low-effort, High-impact: With the right tool, you can get results that feel polished even with minimal resources.
The secret behind most viral lip sync content isn’t expensive gear, it’s strategy, technique, and the right tools.
Step-by-Step Guide to Creating Lip Sync Videos Without a Studio
Step 1: Choose Your Sound Wisely
A strong lip sync video begins with the right audio. This could be:
- A trending TikTok sound
- A movie dialogue
- A piece of music
- A snippet from a YouTube video
Platforms like TikTok, Instagram Reels, and YouTube Shorts offer a library of sounds that are already popular. Use them to your advantage, following trends increases your visibility.
Pro Tip: Always check if the sound is available for use (some copyrighted sounds might be restricted depending on the region or platform).
Step 2: Perfect Your Timing
Lip syncing is all about precision. Even a fraction of a second can make your video look off.
Practice your lines or song multiple times. If it helps, slow down the audio while rehearsing, then sync up at full speed when recording.
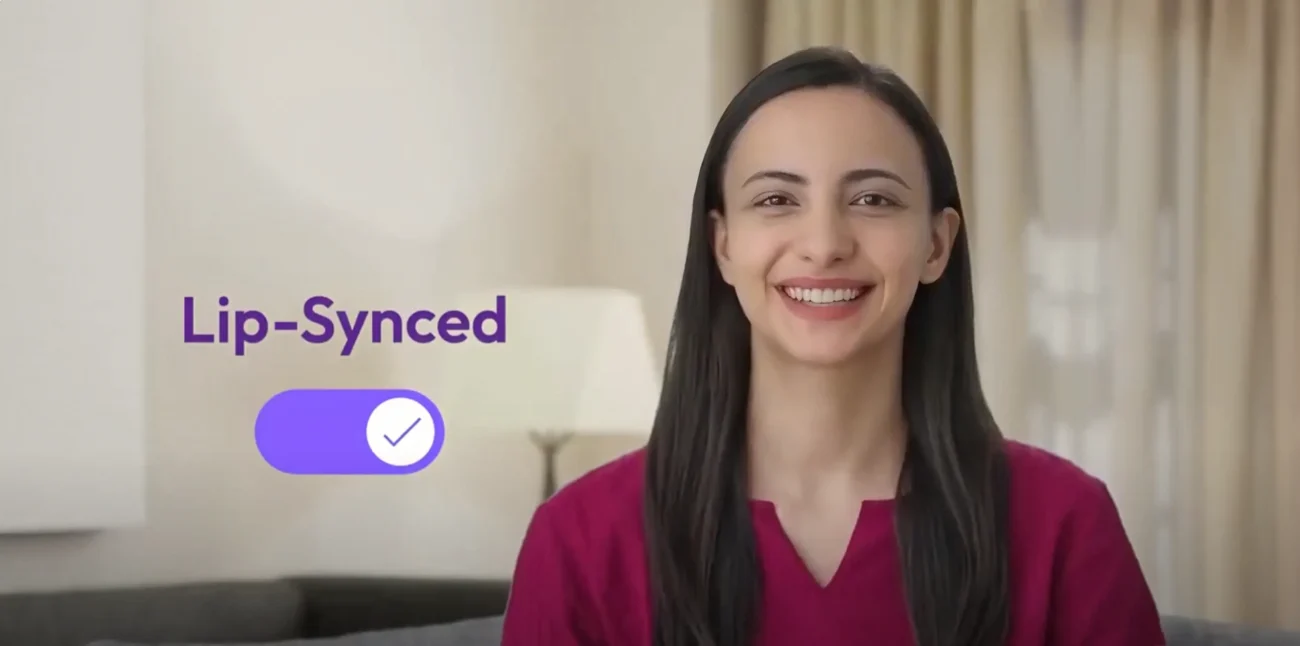
To make this process easier, many creators turn to a reliable lip sync video maker. These tools allow you to load the audio, visualize waveforms, and even preview how your lip movements align with the sound.
Using a lip sync video maker helps eliminate guesswork and improves the final result dramatically, even if you’re just filming in your living room.
Step 3: Set the Scene (Without a Studio)
Just because you’re not in a studio doesn’t mean your environment should be distracting. A clean, well-lit space is often all you need.
Here’s how to optimize your setup:
- Lighting: Use natural light from windows or inexpensive ring lights. Proper lighting enhances your video’s quality significantly.
- Background: Keep it simple. Plain walls, curtains, or uncluttered corners work great.
- Camera Position: Use a tripod or stack books to stabilize your phone. Shaky footage looks unprofessional.
- Orientation: Vertical videos (9:16) are ideal for platforms like TikTok and Reels.
No studio? No problem. The goal is to let you be the focus, not the background.
Step 4: Use the Right Tools and Video Apps
Once you’ve rehearsed and planned your setup, it’s time to record and edit your masterpiece. Here’s where video apps come into play.
Many modern video apps come with built-in lip sync features, filters, transitions, and effects that can give your content that professional look.
Look for apps that offer:
- Audio waveform syncing
- Auto-captioning
- Speed control
- Smooth transitions
- Filters and beauty effects
- Export in high definition (1080p or more)
These apps aren’t just editing tools; they’re your virtual production studio.
One standout example is a platform that allows users to seamlessly combine image, video, and audio in a user-friendly interface. With its AI-backed capabilities and ease of use, creators can polish their lip sync videos with cinematic transitions, captions, and professional-grade effects, without needing any post-production expertise.
Pro Tip: Save your edited video in the highest quality possible to preserve clarity when uploading to platforms like Instagram or YouTube.
Step 5: Nail Your On-Camera Performance
Great lip sync content is more than just moving your lips; it’s about expression and energy.
Here are a few performance tips:
- Facial Expressions: Match the mood of the audio. Is it funny, dramatic, romantic, or angry?
- Body Language: Use gestures to amplify your performance.
- Eye Contact: Look directly at the camera for maximum engagement.
- Consistency: Maintain the same energy throughout the clip.
- Remember: People don’t just watch lip sync videos for accuracy, they watch for entertainment value.
Step 6: Add Finishing Touches Before Publishing
Once you’ve edited your video, make sure to:
- Preview it for sync issues.
- Trim unnecessary pauses at the beginning or end.
- Add captions or stickers if appropriate.
- Optimize the thumbnail (first frame).
- Choose a catchy caption and relevant hashtags when uploading.
These small tweaks can make a big difference in how your video performs.
Tips for Going Viral Without a Studio Setup
- Follow Trends: Use trending sounds, effects, and challenges.
- Post Consistently: One viral video is good; consistency is better.
- Engage With Your Audience: Reply to comments, ask questions, and repost user reactions.
- Collaborate: Partner with other creators to reach new audiences.
- Experiment: Try new styles, duets, transitions, filters, etc.
Common Mistakes to Avoid
- Poor Lighting: Nothing ruins a good lip sync like bad lighting.
- Off-Sync Audio: Always preview before posting.
- Overuse of Effects: Don’t let filters or transitions distract from your performance.
- Ignoring Trends: If you want to reach, stay current.
- Cluttered Backgrounds: A messy scene pulls focus away from you.
Final Thoughts
You don’t need a studio or fancy equipment to create engaging, professional-quality lip sync videos. All it takes is creativity, consistency, and the right use of tools. By using a good lip sync video maker, planning your performance, and leveraging easy-to-use video apps, you can produce content that stands out on any platform.
Whether you’re trying to grow your personal brand, entertain your audience, or ride the next viral wave, start experimenting. Your next lip sync video could be the one that gets you noticed.